As a newbies, we’ve all been in this situation: we love to commence our blogging journey with the free blogging platform such as www.yourname.blogspot.com or www.yourname.wordpress.com as it costs no amount and requires less technical skills to get started. What’s more, you’re also offered with unlimited storage(though storage is not technically “unlimited”) and bandwidth. It makes sense, right?
What if you now have learned the importance of custom domain name(www.yourname.com) over the free domain name(www.yourname.blogspot.com) and wished you had started off with the custom domain name making it look more professional. If you’ve ever started blogging with a free blogging platform, you know that credibility is important as most websites don’t like BlogSpot links to backlinks. Thus, the importance of custom domain name outweighs the free domain name. So, let’s take a closer look at setting up the custom domain in BlogSpot. This article shares the step by step guide which any technical and even non-technical people can follow to setup BlogSpot with your custom domain name. Moreover, by the end of this article, one can easily set up his custom domain in blogger. Without further ado, let’s dive straight into it.
How to setup a custom domain in blogger
Firstly, you just need to buy a domain name of your choice from any reliable domain name registrar and have access to your domain details and then the blog can be re-directed to your custom domain in few simple steps.
Step:1 – Simply Login to your blogspot.com, Go to Settings and then click on Basics. The screen could look something like this:
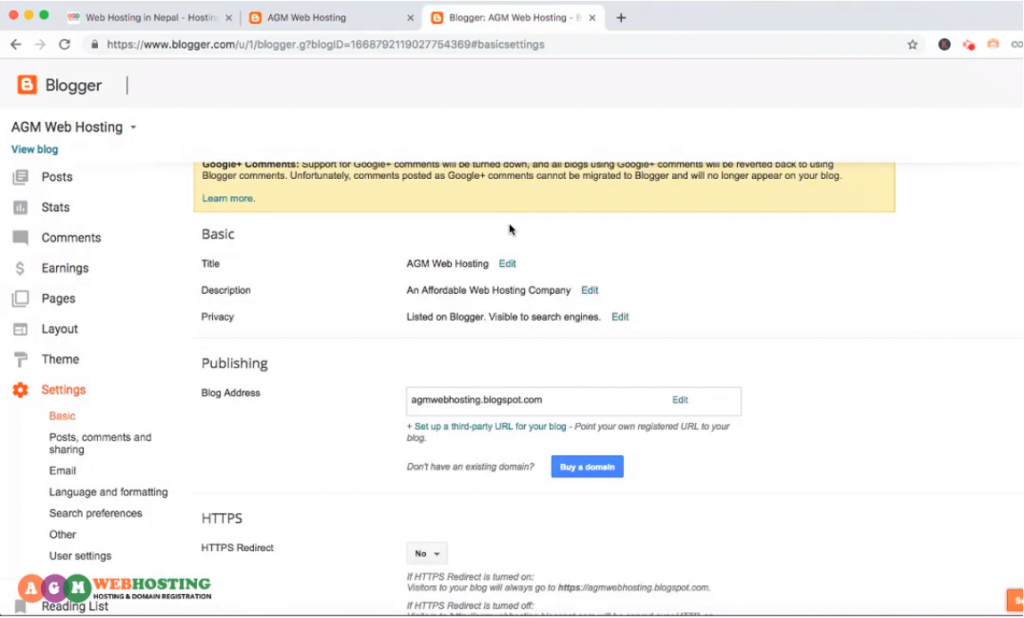
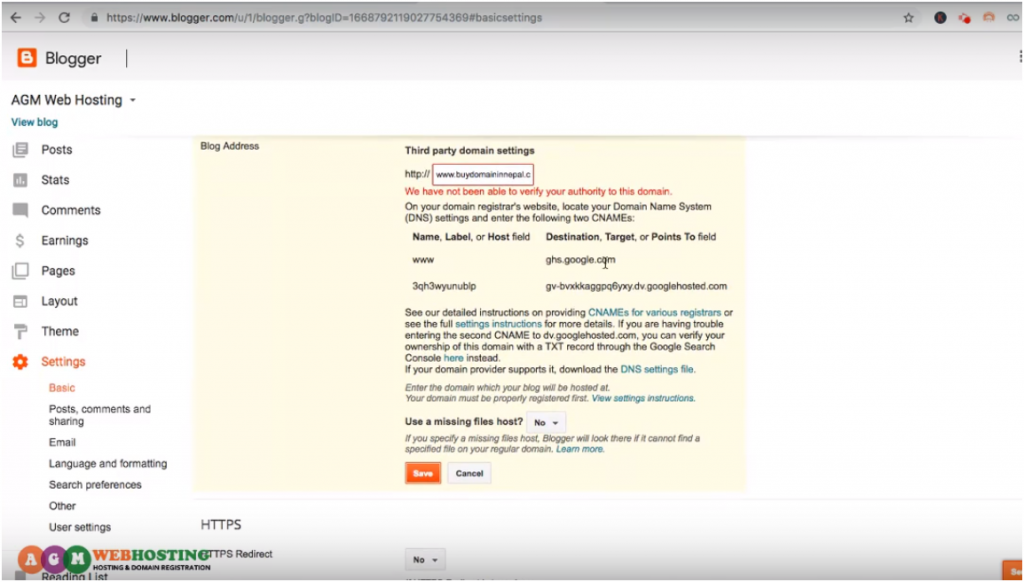
Step:2 – Click the ‘Set up a third-party URL for your blog’ under blog address. Kindly enter the domain you have registeredand click Save button at the bottom.
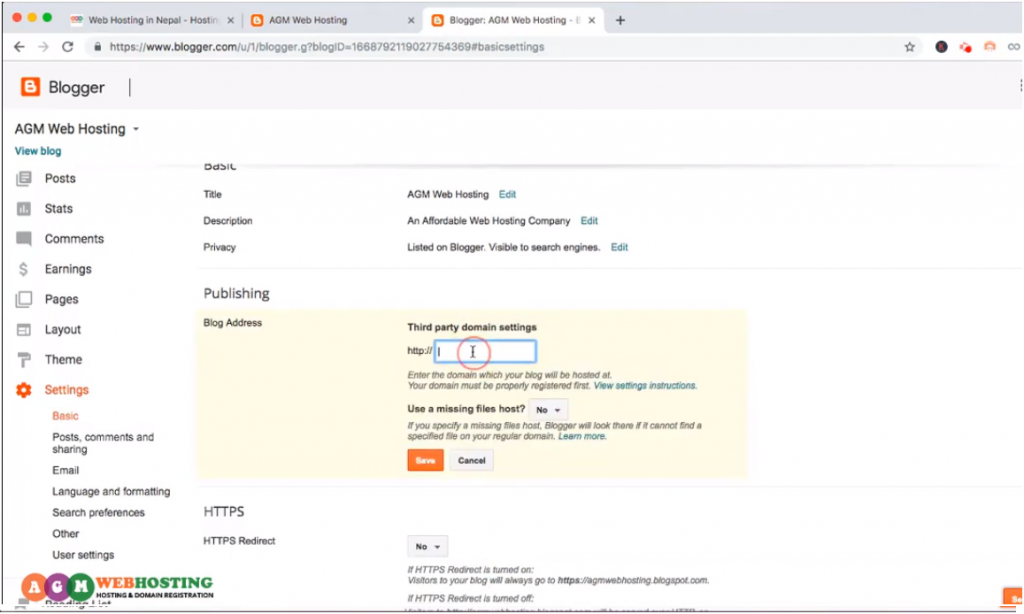
Step:3 – Kindly enter the domain you have registeredand click Save button at the bottom.
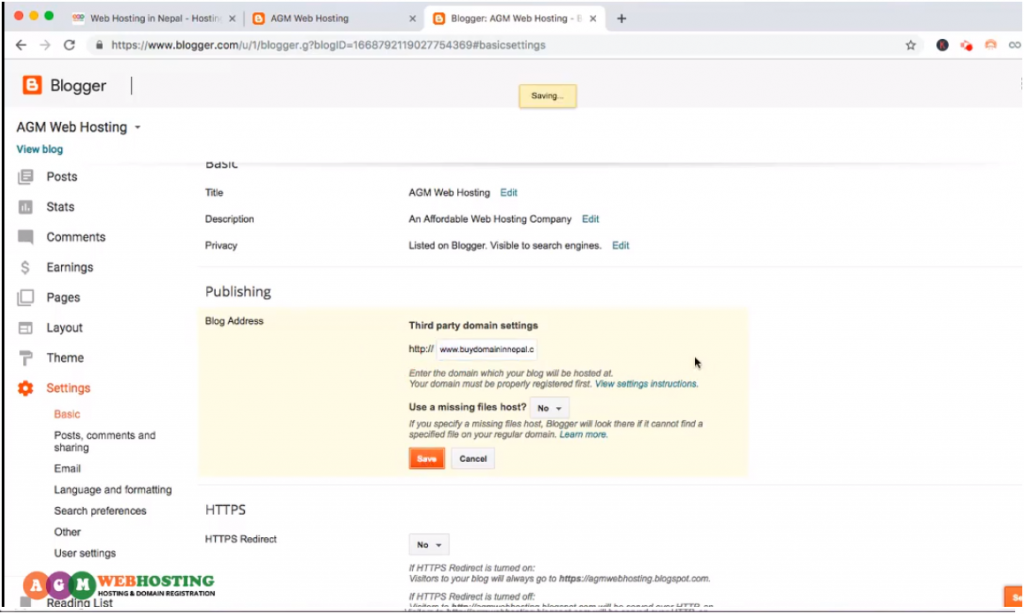
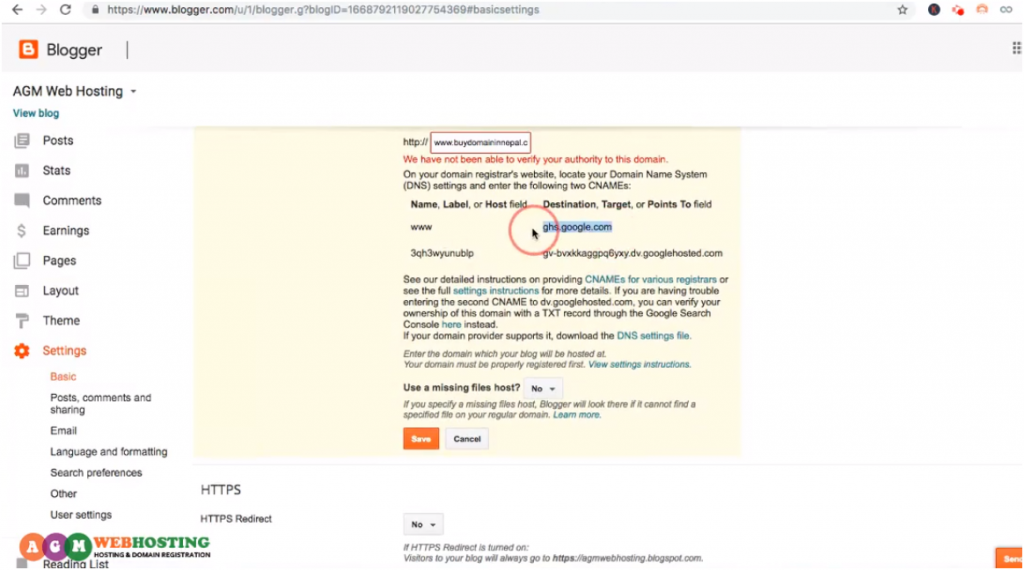
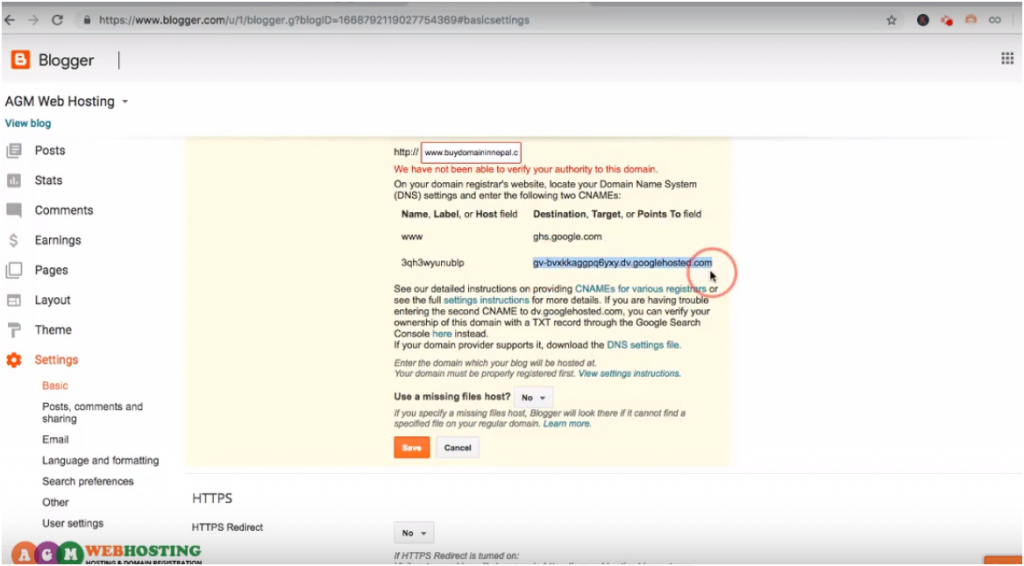
On clicking save button, It will give the error message “We have not been able to verify your authority to this domain”. This error message signifies blogger needs to verify the domain ownership.
Below you can also see the two CNAMEs with different value and corresponding points to field. Now, you need to configure these two CNAMEs with your custom domain name.
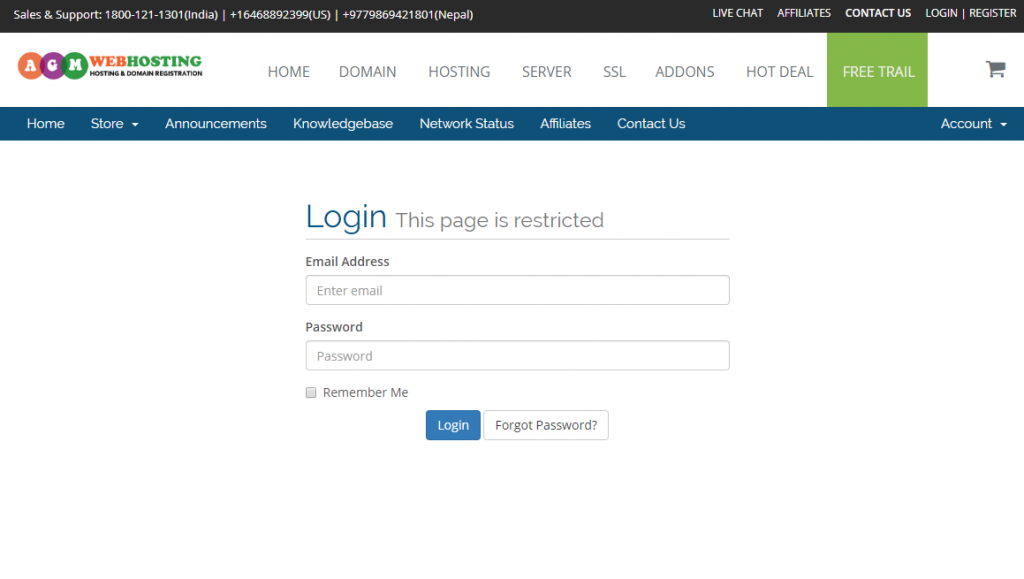
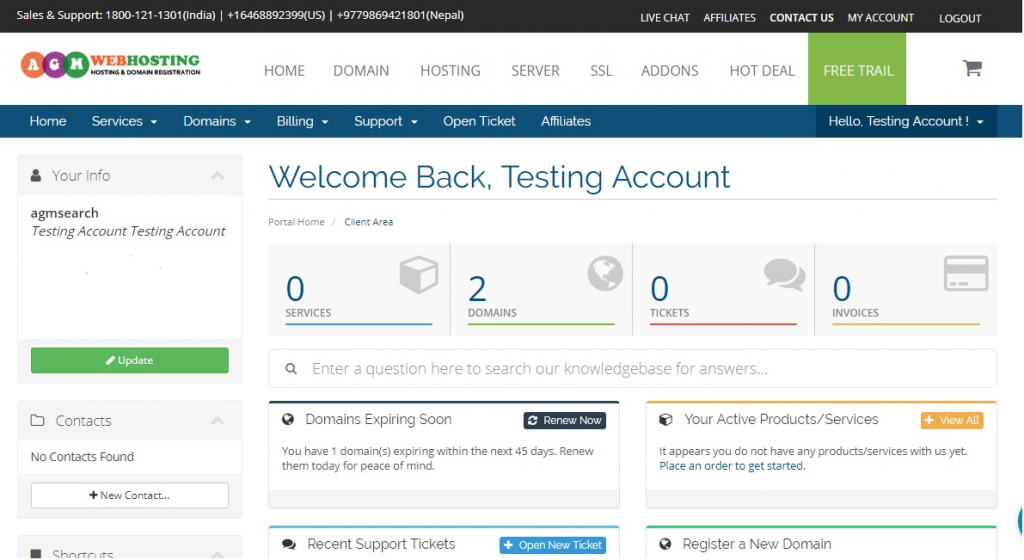
Step:4 – To configure CNAMEs, Go to www.agmwebhosting.com and Login to your Customer Portal.
Now, click on the “Domains” sections
Settings of the desired custom domain. And the screen could look something like this:
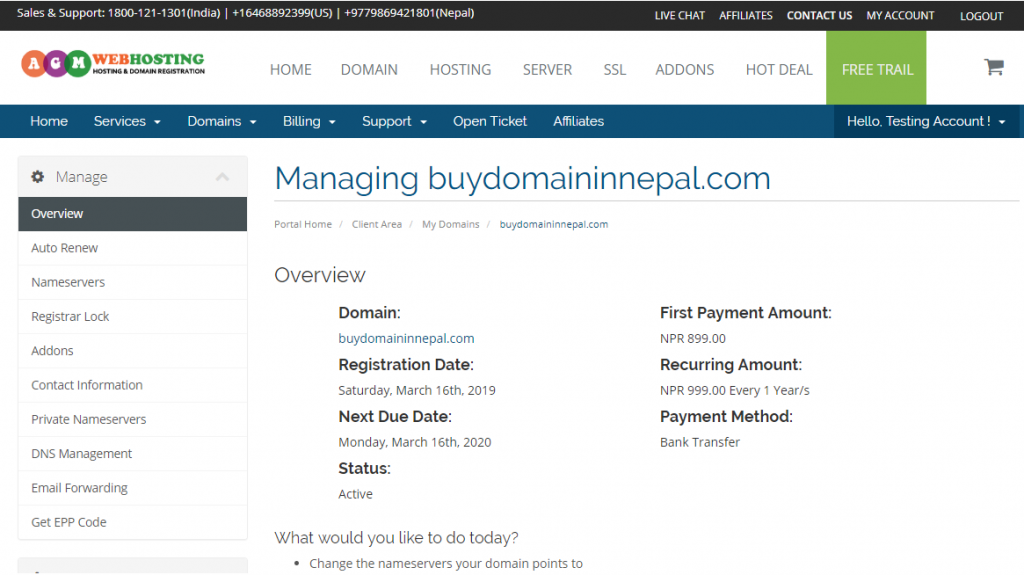
Step:5 – After Setting option, now click on the Nameservers.
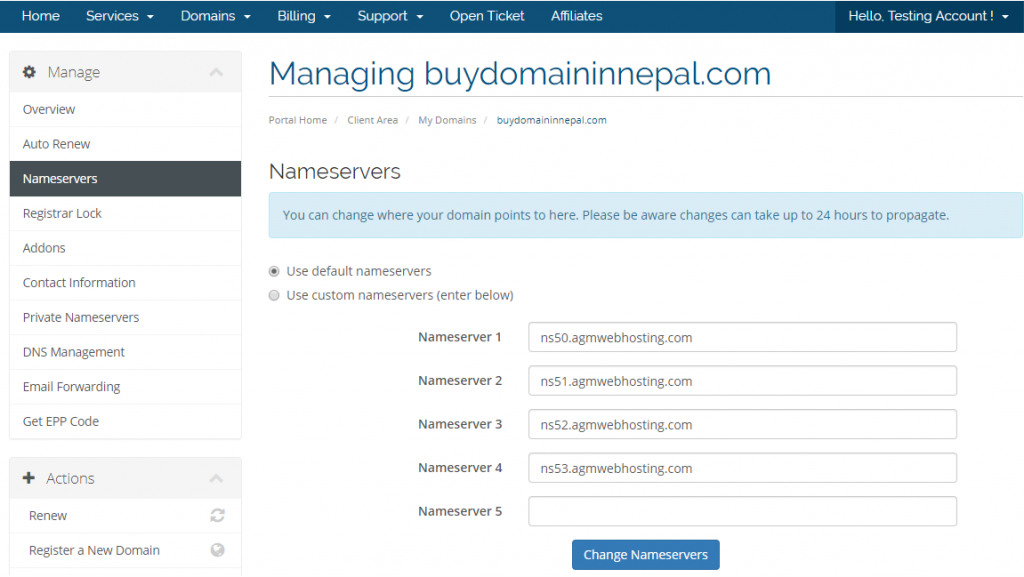
Note: Before using DNS Settings, make sure you click on the use default nameservers as above and click ‘Change Nameservers’ button at the bottom.
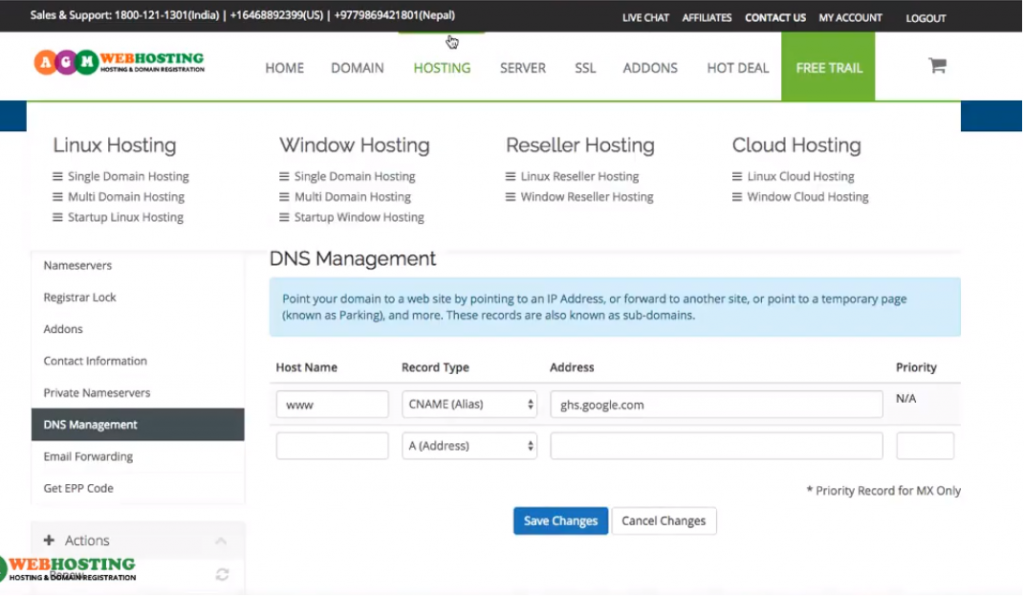
Step:6 – Once changes saved. Now, Click on the DNS Management tab at the left where you can add new records.
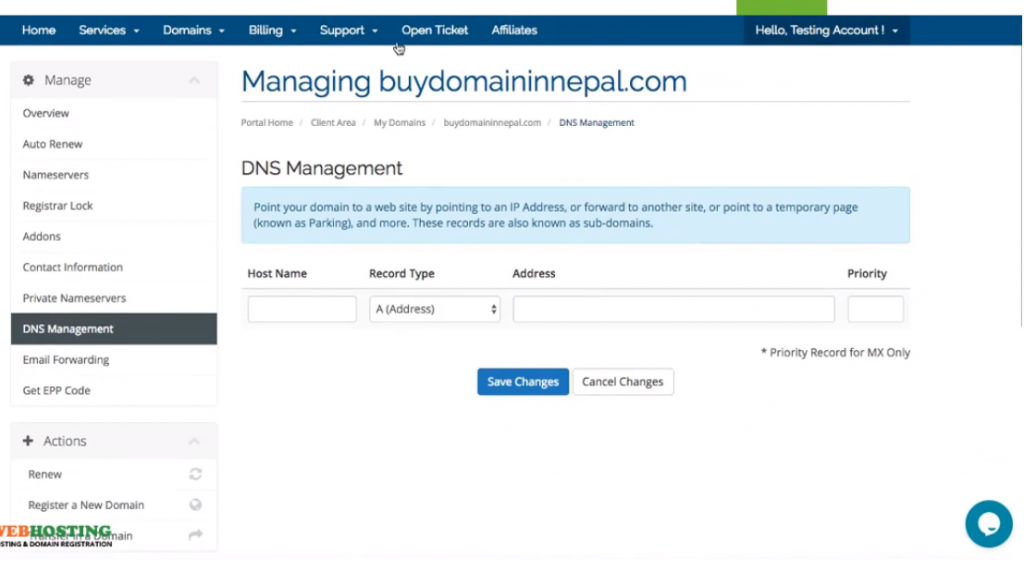
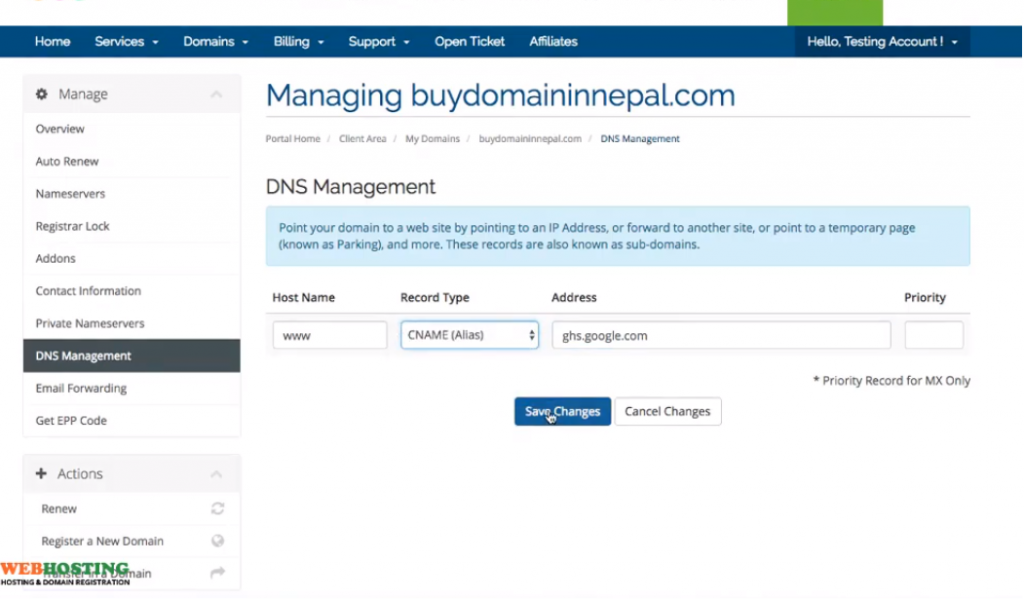
Step:7 – Click on “Add Record” and select CNAME (Alias) as Record types. Enter the first Host Name i.e. ‘www’ and corresponding address provided right next to it in the destination field on the blogger dashboard section and then click on “Save Changes”.
Note: The “Save Changes” should be performed at DNS Management Section only not in the blogger dashboard, Once you entered both the Host Name and Points to Field information.
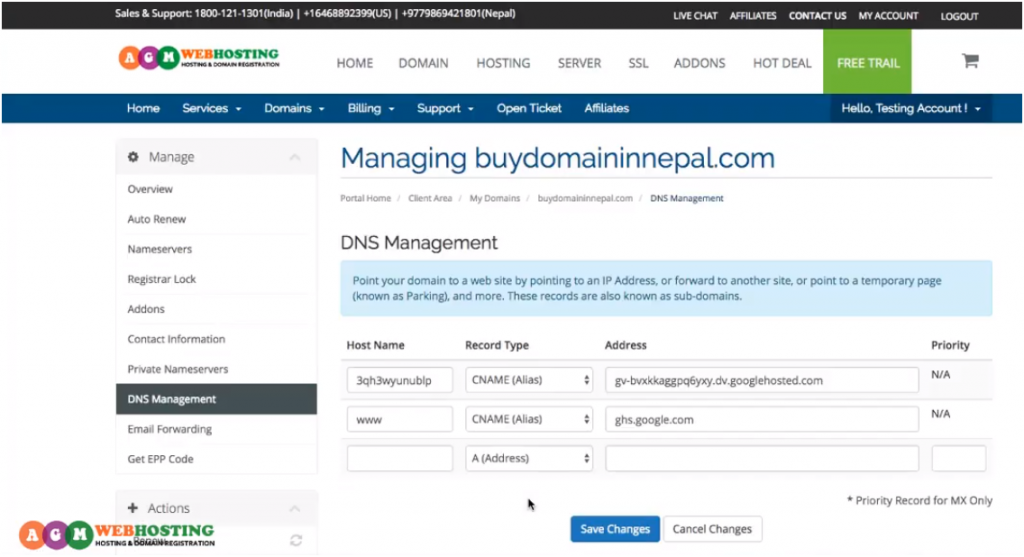
Now again, you need to enter another CNAME and points to field in the below.
Once, you enter the Second Host Name and Points to Field with CNAME(Alias) as record types. Then again click on the “Save Changes” button at the bottom.
Step:8 – Once, you have added both the CNAME in the DNS Management Section. Navigate to your blogger section and now, click on the ‘Save’ button at the bottom.
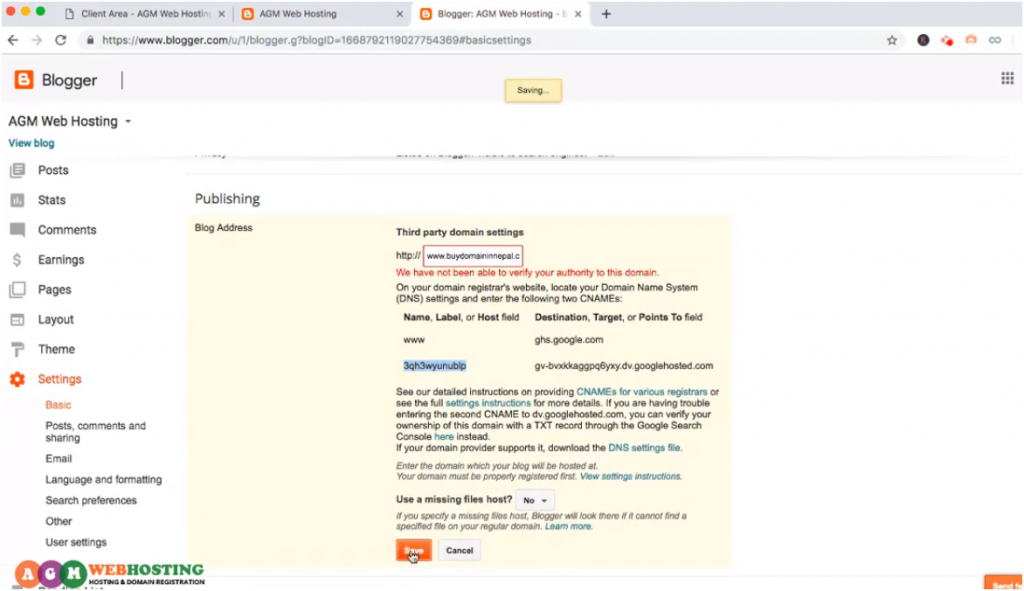
Once, you click on the save button, it might be will take some time to update.
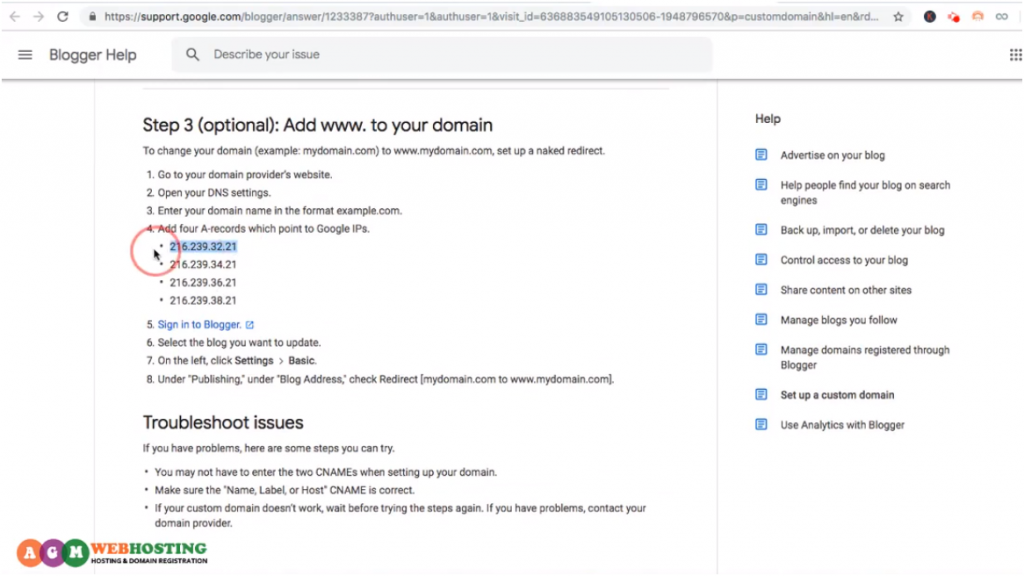
Step:9 – Now, the next step is to click on the View settings instructionson the below and you can find the four A records in there. The same four A Records under Address box and @ in Hosts box needs to entered one by one following save changes.
216.239.32.21
216.239.34.21
216.239.36.21
216.239.38.21
Make sure all the A records and CNAME as specified are entered. Now, click “Save Changes” to save all the changes.
Step:10 – Now, Go back to the blogger dashboard and click “Save” button. The error message that you were getting previously should disappear now.Still, if the error message doesn’t get vanished, wait upto 4-6 hours. Once, it gets updated then click the save button again. Then your blogger with new custom domain will be working fine.
Phew!
Your custom domain name has successfully been configured in blogger. Enjoy your New Blogging URL!