
WHM is a feature only available to Reseller Hosting, VPS Server and Dedicated Server Hosting users; whereas Shared Hosting users do not possess WHM access. The most frequent asked question I’ve come across is – how one can create cPanel account in WHM. If you’re newbie to reseller hosting and do not know how to create a new hosting account. Fret not, in this article, I’ll share how to create a new cPanel account within your WHM(short for Web Host Manager).
As one of the most crucial features within WHM is the ability to create individual cPanel accounts, now that you just have to save some time to mull over these couple of steps to create your cPanel account in the easiest way possible. If you are intending to resell your own hosting accounts, these are few simple steps to help you create new cPanel account.
1 ) Login to your WHM account.
[Wondering how? Just go to your domain name and put forward slash then type whm and hit enter button. This should bring you to the WHM Login Page that looks something like this.]

Here, the username and password will be the same as your reseller username and password for a cPanel. What’s more, once you click that information and enter the login button, you’re taken to the WHM dashboard and this is what it looks like.
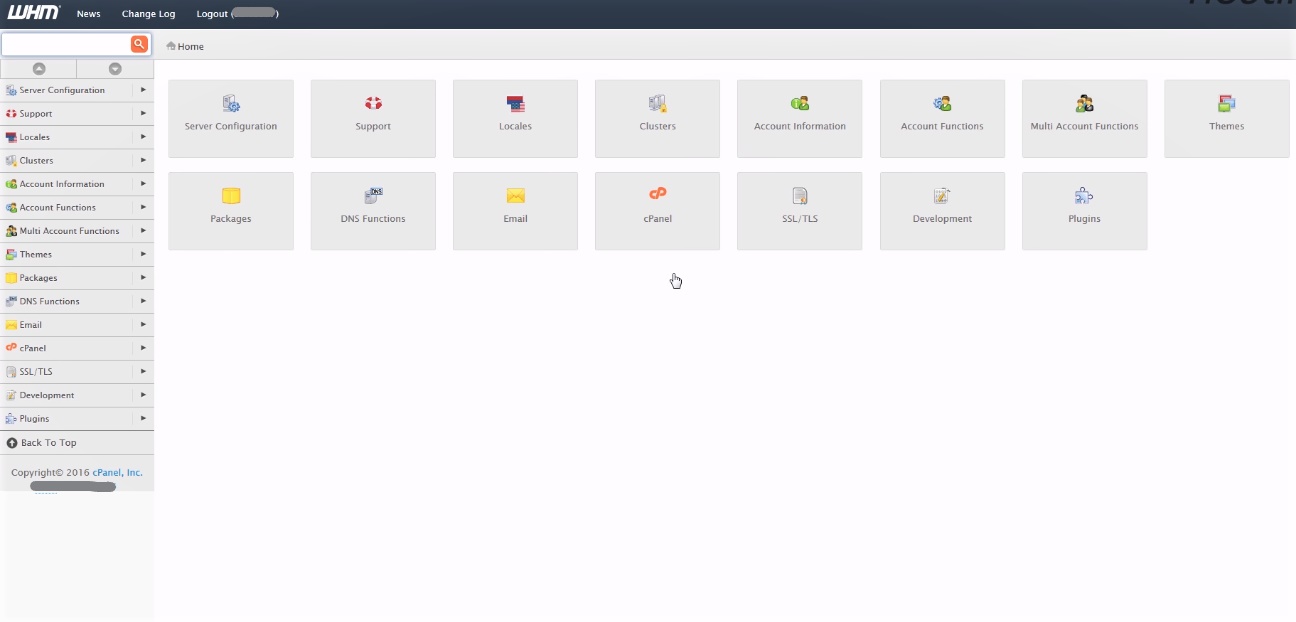
2 ) Navigate to WHM » Account Functions » Create a New Account.
In the WHM dashboard, you can find a lot of information on the left hand side with sub categories or sub options. If you’re already familiar of where you’re going then simply open up the Account functions category and there you’ll find create a new account option or else you can also narrow that down by simply using the search bar up top and entering create a new account there either way it takes you to the same place.

3 ) Click ‘Create a New Account’ button and you are directed to the domain information, where you enter the account details.
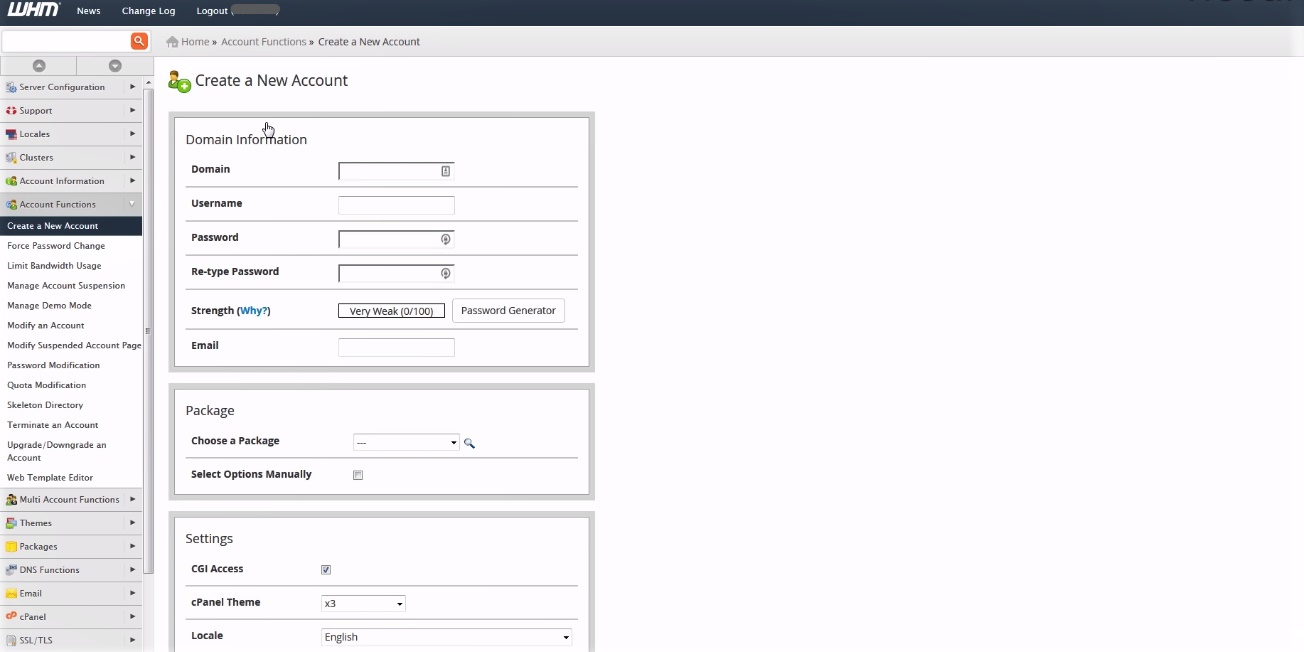
Firstly, you need to enter the domain name for the new account. Now, this cPanel account will be created for the entered domain name.
Then, enter the username for the account. The username can be anything you want as long as it does not already exist as a username on your reseller account or WHM. Having said that you cannot use the username for your WHM cPanel account here as this already exists.
Enter the password you prefer or you can generate very strong password with the aid of password generator that generates password for your account and confirm it.
Enter the email address to get notifications. If you’re creating new account for your customer, then you need to enter their email address here to give out the notification of creating new account for them.
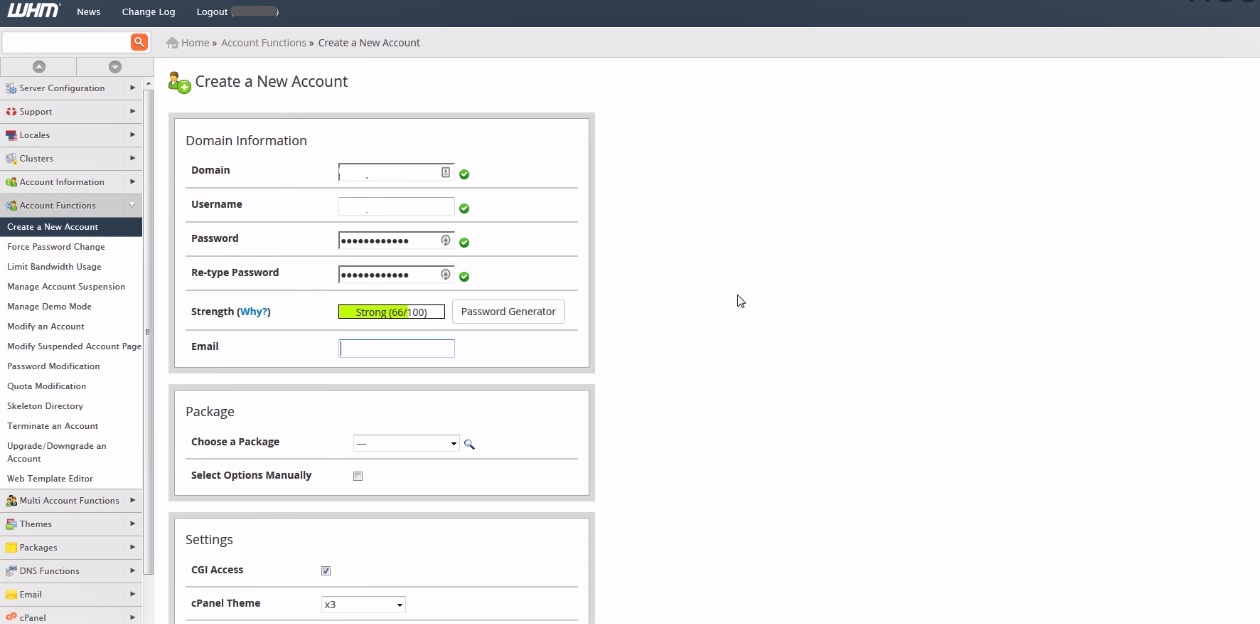
4 ) Package
WHM allows you to create packages from ‘choose a package’ option so that you can deliver different level of services to your clients. For instance, you may have …. plan package within which you could set limits such as number of addon domains to associate to the new account. If you don’t have any, opt the select options manually and set the limitations now.
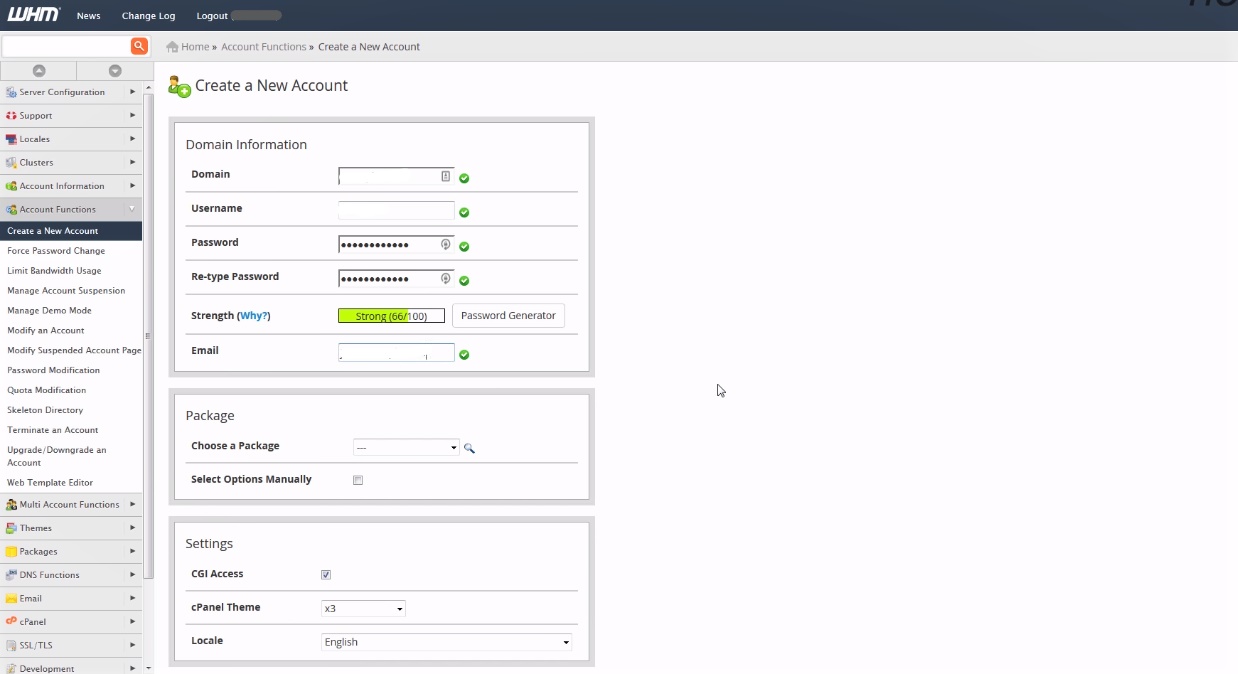
5 ) Settings
Opt the appropriate theme and language for the user. In cPanel, we are commonly using X3 or paper_lantern for accounts that host websites and X3mail for accounts that serves mail only.We can select the Theme and Language from here. And in selecting proper language, locale option is used. In above case we have used English language.
6 ) Reseller Settings
If you want to create a reseller account, then you can opt ‘make the account a reseller’ option.
Whereas, if you want to allow the new reseller to own the account, then you can choose ‘make the account own itself’ option, i.e. doing so, you are allowing user to make changes in the account.
7 ) DNS Settings
We can enable spam prevention tools, DKIM and SPF to the account by clicking the corresponding options from DNS settings.
If the nameservers of the domain are going to be on another server, opt ‘use the nameservers specified at the Domain’s Registrar’ option.
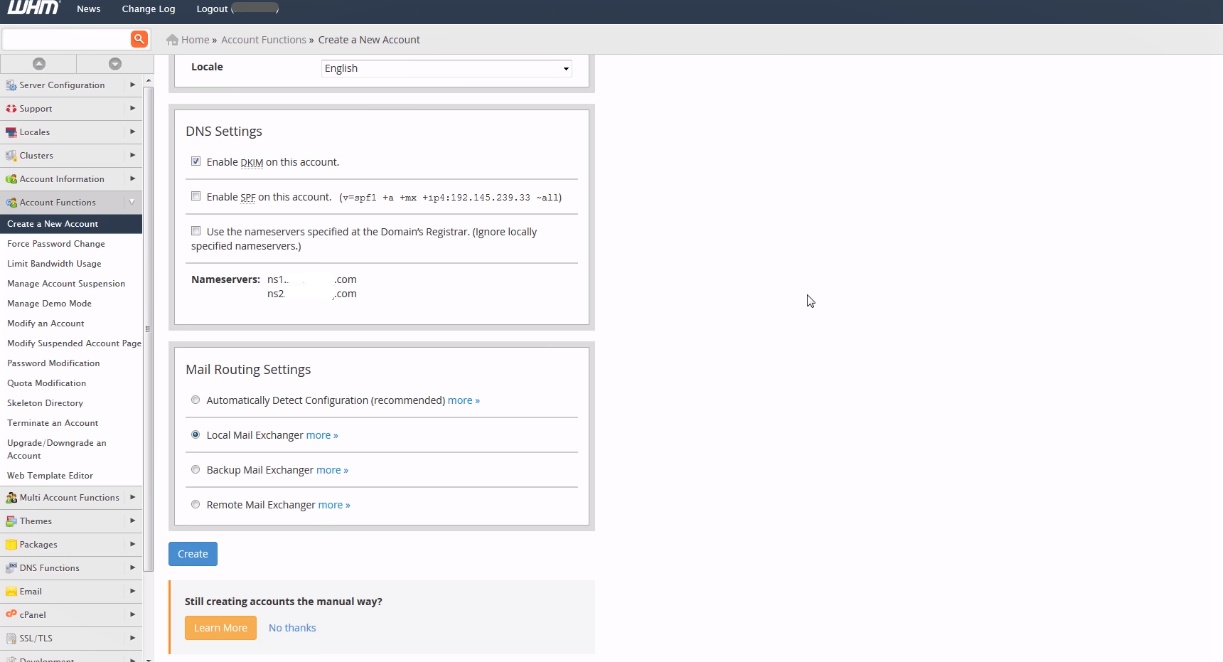
8) Mail Routing Settings
Mail routing settings allows you to specify how mail should be routed for the newly created account. You have following options to choose.
Automatically Detect Configuration – automatically detects the suitable settings and is the default and recommended configuration.
- Local Mail exchanger – accepts mail locally for the new account.
- Backup Mail Exchanger – configures the server to be a backup mail exchanger.
- Remote Mail Exchanger – is used if it does not accept mail locally for the domain.
After updating all the details, you can click the ‘Create’ button at the bottom of the page to create the new cPanel account.
Congratulations! you have just created a new cPanel account!
Key Takeaways
This is how we can create new cPanel accounts from WHM. I believe you now have understood how to create a new hosting account in WHM and have enjoyed reading the article too. Moreover, if you want to learn by watching video, then here is a quick video about how to create a new cPanel account in WHM.
In addition, if you need any assistance for creating new account, please feel free to contact us, our ready-to-help representatives will help you with that!
Phew!
Have a blissful day! 🙂